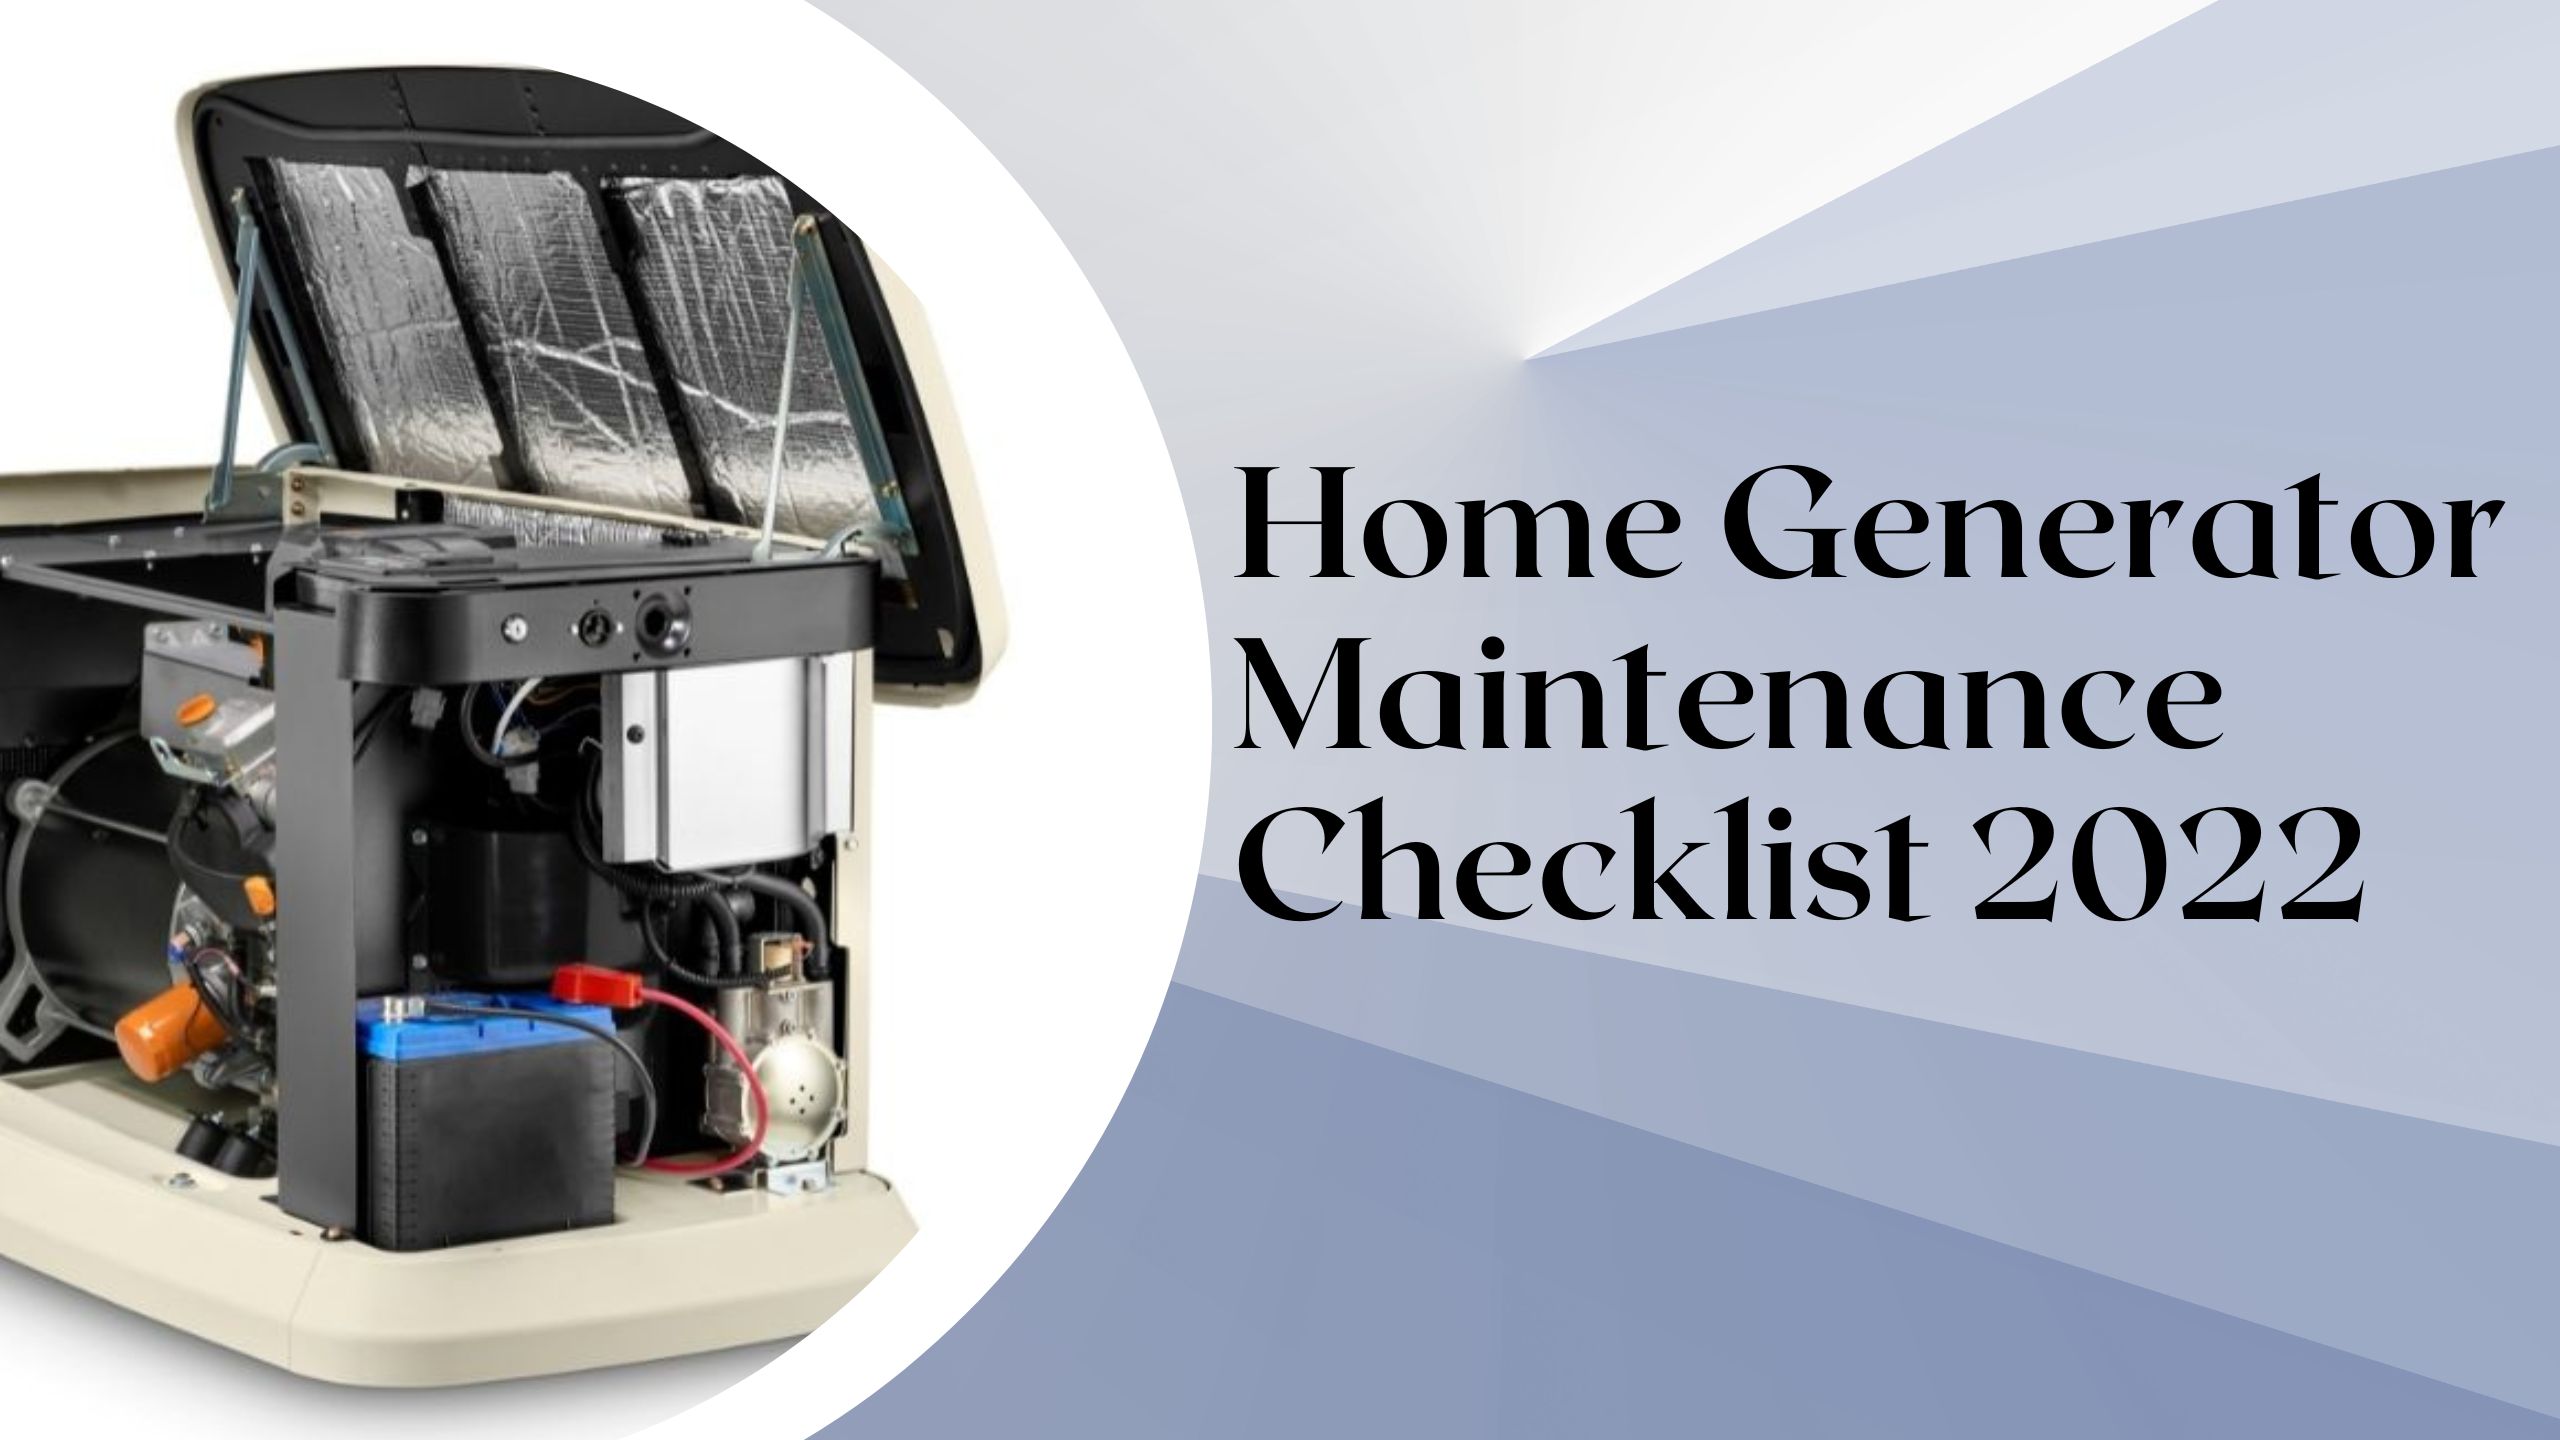
If you have a home generator, it’s important to keep up with regular maintenance. A well-maintained generator can provide peace of mind and you can enjoy numerous benefits of having a generator installed at your home. Make sure you’re prepared in the event of a power outage. To help streamline the process, we’ve created a maintenance checklist for home generators. This simple guide covers all the basics, from changing the oil to testing the battery. Here is a basic home generator maintenance checklist to follow in 2022.
- Change The Oil And Filter
Generator maintenance and repair is one of the most important things you can do to maintain your generator. Not only does it help to keep the engine clean, but it also helps to prevent wear and tear on the generator’s components. The oil and filter should be changed every 100 hours of use or once a year regardless of use , or more frequently if the generator is being used in dusty or dirty conditions.
To change the oil and filter, it is best to consult the generator’s manual to find the correct type of oil and filter for your model. Then, drain the old oil from the generator and replace the filter. Don’t forget to fill the generator with new oil and run it for a few minutes to check for leaks. Doing this ensures that your generator is at its top shape.
- Replace The Air Filter
The air filter helps to remove dust and debris from the air, preventing it from entering the engine and damaging it. A dirty air filter can also reduce the efficiency of the generator, causing it to use more fuel. For this reason, it is important to check the air filter regularly and replace it when necessary. There are a few signs that you may need to replace your air filter, such as decreased performance or increased fuel consumption. If you notice either of these things, it is time to change the air filter. Replacing the air filter is a relatively simple process, but if you are unsure how to do it, you can consult your generator’s manual or take it to a qualified technician.
- Inspect The Belts And Hoses
Over time, belts and hoses can become worn or damaged, which can lead to costly home generator repairs. By regularly checking them for signs of wear and tear, you can help to prolong the life of your generator. In addition, be sure to check the manufacturer’s recommendations for replacement intervals.
- Check The Fluid Levels
To keep your generator running smoothly, check the fluid levels regularly. This includes the oil level, coolant level, and fuel level. If any of these fluids are low, it could cause your generator to overheat or seize up. So be sure to check them frequently and top them off as needed.
- Clean Or Replace The Spark Plugs
Most home generators run on either natural gas or propane, and have to have their spark plugs cleaned or replaced every few months in order to run efficiently. If you notice your whole home generator isn’t starting as easily as it used to, or if it’s running less smoothly, it’s likely time to clean or replace the spark plugs. This is a relatively easy maintenance task that you can do yourself, but it’s always best to consult with a qualified technician to make sure you’re doing it correctly. In any case, keeping your generator in good working order is essential to ensuring that it will be there for you when you need it most.
- Check For Loose Wires Or Connections
Loose wires can cause the generator to overheat and potentially catch fire. Similarly, loose connections can cause the generator to lose power or even shut down completely. If you notice any loose wires or connections, be sure to tighten them up right away. If the problem persists, you may need to call a professional home generator repair service.
The valves regulate the flow of fuel and air to the engine, and they need to be properly adjusted in order for the generator to run correctly. Most generators have two valves: a fuel valve and an air valve. The fuel valve controls the amount of fuel that goes to the engine, while the air valve regulates the amount of air that enters the combustion chamber. Both of these valves must be turned on in order for the generator to start. However, if either one of them is turned too high, it can cause the engine to overheat and fail. As a result, it is important to check both valves before each use, and to make sure that they are set to the correct positions. If unsure, it is best to contact generator maintenance near you.
- Test The Starting System
If you have a generator at home, it’s important to test the starting system regularly to ensure that it’s in good working order. To do this, first make sure that the generator is properly fueled and lubricated. Then, turn on the switch and let the engine run for a few minutes. Next, turn off the switch and check the oil level. If it’s low, add more oil until it reaches the full line. You can now turn on the switch again and let the engine run for a few more minutes. If the generator starts and runs smoothly, then the starting system is in good working order. However, if the engine doesn’t start or runs rough, then you’ll need to have the system serviced by a qualified home generator repair service. By regularly testing the starting system, you can help ensure that your generator will be there when you need it most.
To Sum up
If you have a home generator, be sure to bookmark this content and follow the basic maintenance checklist we’ve outlined. It will help keep your generator running smoothly and ensure that it’s there for you when you need it most. Be sure to call us at Genstar Generators Services, we are not just here to help you choose the right model for your needs and provide regular generator maintenance and repair. Call us now at 417-5553 to learn more!